
I wanted to share how I configure my LibreOffice 6.0’s WebDAV connection in order to enable Remote NextCloud 13 file editing.
- Determine your NextCloud’s WebDAV connection string.
- Login to your NextCloud server.
- Click the Settings option in the lower-left. There you will see your NextCloud WebDAV connection string. Mine is
https://<ip-address>/nextcloud/remote.php/webdav/.
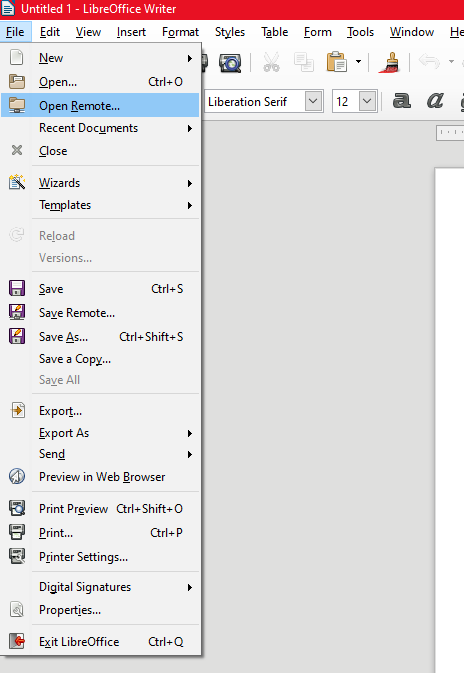
- Open your LibreOffice App, we’ll use Writer as an example.
- Go to File -> Open Remote.
- A dialog will be opened select Add Service. Another dialog will be opened named File Services this is where you will provide your connection settings. Your initial configuration will look like this:

- Type: WebDAV.
- Host: This is the host of your NextCloud Server. This could be a Domain name, mine was only an IP address because I don’t have DNS Server yet.
- Port: I didn’t touch that option. It will default to 80 when the Secure Connection was unchecked and will default to 443 when checked.
- 80 for when your NextCloud Server was configured to use HTTP.
- 443 for when your NextCloud Server was configured to use HTTPS.
- Secure Connection: This decides which port you will use unchecking or checking this option depends if you’re using regular HTTP or if you’re using secured HTTPS protocol in your NextCloud Server.
- Label: You can write any label that you want.
- Root: set this to point the connection into your whole root folder or to a specific folder.
- The
/nextcloud/remote.php/webdav/will show your entire root folder. - While
/nextcloud/remote.php/webdav/Documentswill only show your Documents folder.
- The
- Click OK and you’ll be greeted by these dialogs.
- The Security Warning. This shows whenever you have HTTPS enabled in your Nextcloud server and you use a self-sign
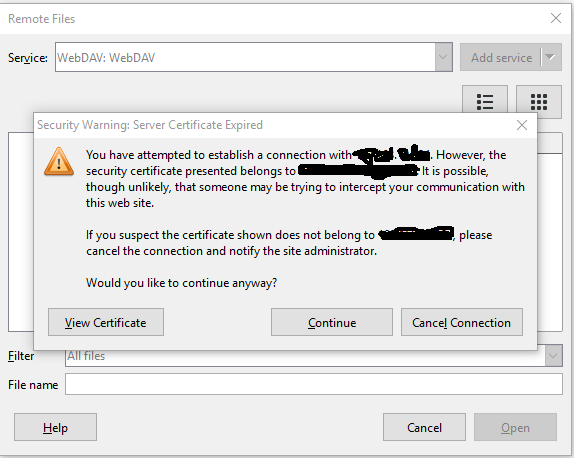 ed certificate. Just click Continue.
 - Username and password prompt. You need authentication in order to make connection to the user files. Provide the user account credentials.
- LibreOffice master password. LibreOffice wants you to register a password for the remote connection for security pruposes.
- The Security Warning. This shows whenever you have HTTPS enabled in your Nextcloud server and you use a self-sign
- If all the data you provided were correct, your WebDAV connection will be successful and your root files should be visible in the dialog. You can choose to edit the files using your laptop and the saves will be reflected to your files in your NextCould Server.

That’s all folks! I hope that this article could help. Thanks for the read!
